

Breaker blocks represent a fundamental transition in institutional liquidity sourcing within Smart Money Concepts (SMC) frameworks. Traders identify these structures by observing a failed order block that creates a significant market structure shift through a liquidity sweep. When price violates a previous support or resistance zone with momentum, the resulting reaction often leaves a footprint that institutional algorithms revisit to mitigate exposure. Mastering this mechanism provides traders with a high-probability entry point after the market has deceived retail participants by inducing them into false breakouts or breakdowns.
Effective application of breaker blocks requires strict adherence to institutional order flow principles. Unlike traditional support and resistance, a breaker block gains validity only after a clear stop-run occurs. This guide dissects the technical mechanics required to identify these institutional footprints, providing a structured approach to mapping breaker blocks within varying market cycles. By aligning with these institutional signatures, traders transition from reacting to noise to participating in the intentional directional bias of large-scale market participants.
- Explore identifying institutional stop-hunts in our liquidity sweep trading guide.
- Explore mastering market structure shifts in the complete ICT trading strategy guide.
- Explore executing orders via verified brokers in our XM broker review and spread audit.
Understanding Breaker Block Mechanics in 2026
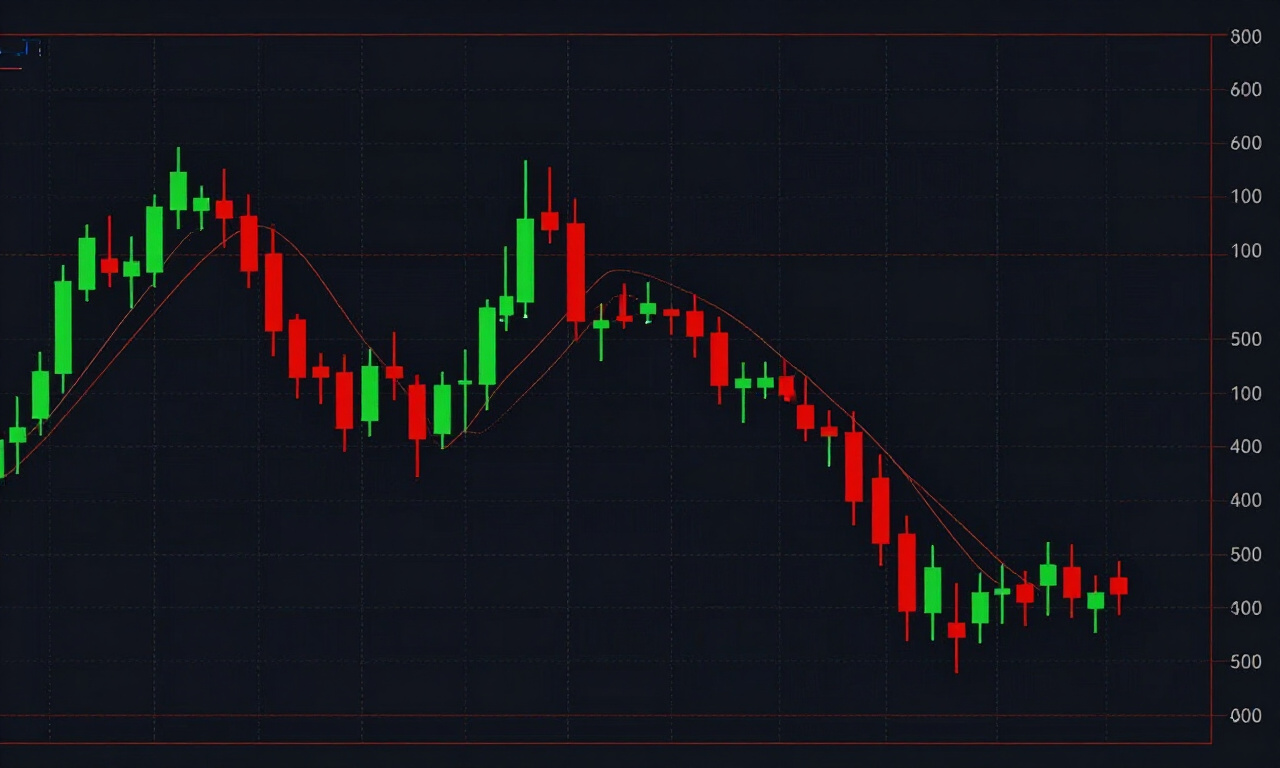
A breaker block is a specific institutional footprint formed when an existing order block fails to hold price, resulting in a market structure shift. This mechanism identifies a failed liquidity zone where institutional positions were stopped out, forcing price to retest the original level to mitigate remaining institutional exposure.
Institutional trading relies on the aggregation of large volumes. When a bullish order block fails to support price, it implies that the institutional entity responsible for the original buy order has been forced into a losing position. As price breaks below this support, the entity must mitigate its loss by returning to that level to balance its books.
This process of mitigation is the core function of the breaker block. Retail traders often view a break below a support level as a sign of weakness or a sell signal. Institutional algorithms, conversely, treat this as a prime opportunity to re-enter the market at a premium or discount relative to the previous range.
Practitioner Pro-Tip: Never trade a breaker block in isolation. Always verify the formation against the higher timeframe trend to ensure the institutional objective aligns with the broader market structure.
Bullish Breaker Blocks: Definition and Entry Logic
A bullish breaker block occurs after a liquidity sweep below a previous market low where price aggressively rejects the level, breaking market structure to the upside. This failed bearish order block forces institutional participants to re-enter long positions when the price retraces back to the specific price range of the failure.
To identify a bullish breaker, look for a classic swing low that is broken by a quick wick or body candle. This is the stop-run phase. Immediately following this stop-run, the price must exhibit an impulsive shift in momentum that breaks a recent lower high. This sequence validates the breaker formation.
Once identified, the zone encompasses the high of the failed order block. When the price retraces into this zone, institutional buying interest is typically concentrated. Traders look for a confluence of factors, such as Fibonacci retracement levels (specifically the 0.618 or 0.786 retracement) or the presence of a fair value gap within the block.
- Identify the swing low that acted as support.
- Observe a liquidity sweep that violates this low.
- Monitor for a strong, decisive bullish market structure shift.
- Place a limit order at the mitigation zone of the breaker block.
- Set stop-losses below the recent swing low created during the stop-run.
The reliability of this setup increases significantly when it coincides with a discount price environment. Avoid chasing the trade if the price has already moved significantly away from the breaker block, as institutional mitigation may have already occurred, leaving the zone depleted of liquidity.
Bearish Breaker Blocks: Definition and Entry Logic
A bearish breaker block forms when a bullish order block is invalidated by a rapid price decline that sweeps liquidity above a swing high, followed by a violent market structure shift to the downside. This failure forces the institutions that bought the high to liquidate their positions at the breaker.
In bearish environments, the breaker block functions as a resistance barrier. Retail participants often perceive the breakout above a high as a signal to go long. Smart money exploits this sentiment by trapping buyers at the top of the range. As soon as the price reverses, those buyers are trapped.
The retest of the bearish breaker block is often aggressive. You should observe the price return to the breaker zone with lower volume, suggesting that the institutional sellers have already initiated their short positions. The bearish breaker is validated when the price makes a lower low following the mitigation of the breaker zone.
Risk management remains critical when trading these zones. Because breakers involve a previous failure, the volatility can be intense. Use a secondary confirmation such as an oscillator divergence or a change in character on a lower timeframe before committing capital to the trade entry.
Strategic Application of Market Structure Shifts
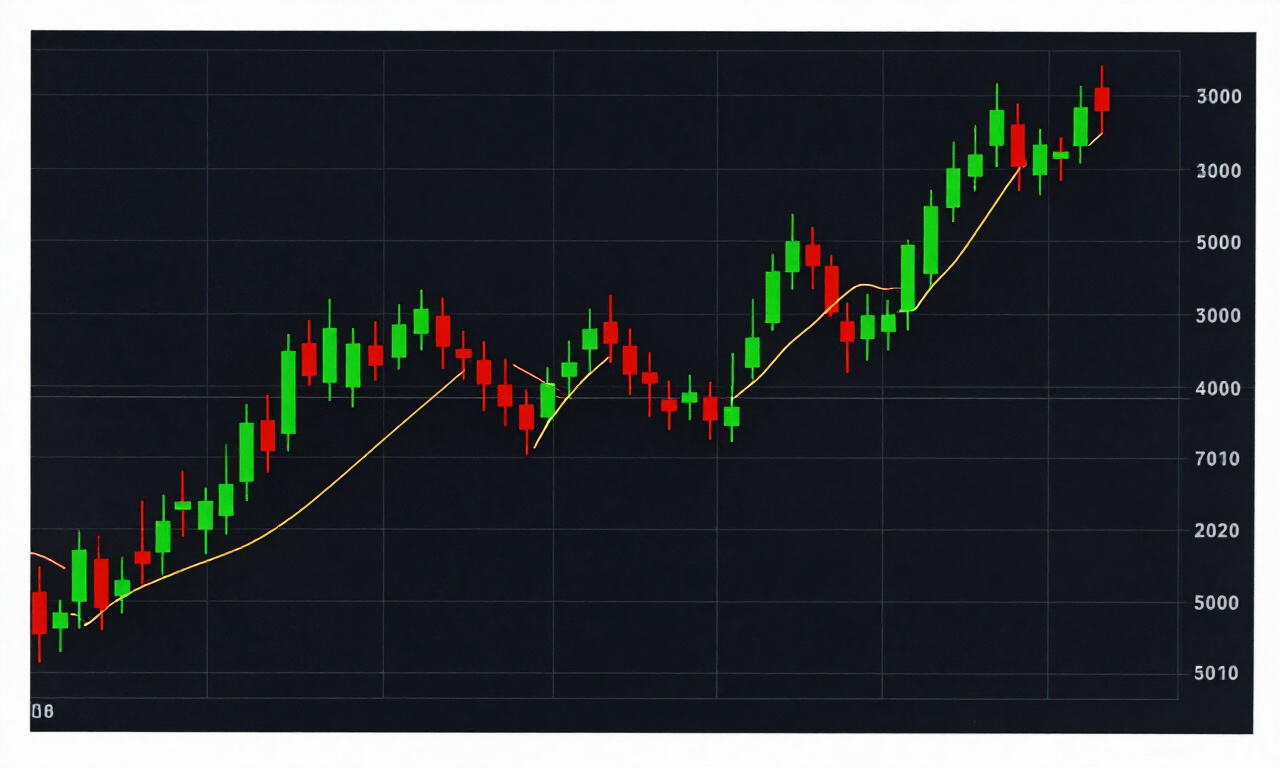
A market structure shift confirms the validity of a breaker block by signaling that institutional hands have reversed their directional bias. By monitoring the transition from a lower high to a higher high, or vice-versa, traders can isolate high-probability breaker zones from noise-driven price fluctuations.
Many traders struggle because they confuse a simple pullback with a market structure shift. A genuine shift requires momentum. When the price breaks a swing high, it must do so with sufficient force to suggest that the previous accumulation phase has concluded. This is where institutional participation becomes visible.
When you identify the shift, measure the distance between the stop-run low and the break of structure. A greater distance often suggests a stronger institutional footprint, as it requires more capital to move the price across that range. This creates a more robust breaker block, providing higher confidence for entry.
The interaction between internal and external liquidity is also a key factor. If your breaker block aligns with the external liquidity sweep, the potential for a long-lasting trend is higher. Avoid taking entries when the breaker block is located in the middle of a consolidation, as the lack of directional bias often leads to messy retests.
Risk Management for Breaker Block Strategies
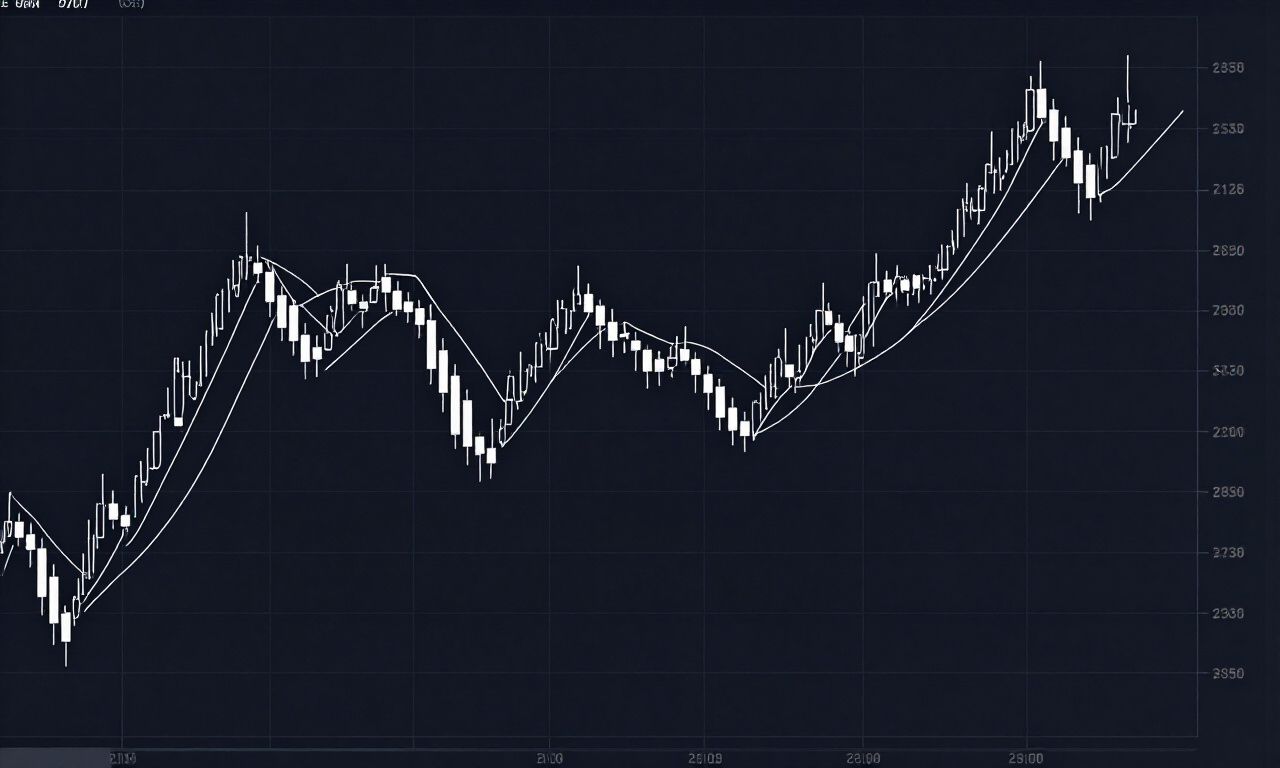
Proper risk management within breaker block strategies involves positioning the stop-loss behind the liquidity sweep high or low while targeting the next major liquidity pool. By maintaining a favorable reward-to-risk ratio, traders protect their accounts against the frequent retests that characterize institutional order block mitigation processes.
The stop-loss should never be placed exactly at the breaker level. Institutions often perform a final liquidity sweep to trigger retail stop-losses before moving price in the intended direction. Placing your stop-loss just outside the ATR (Average True Range) value of the swing high/low provides the necessary breathing room.
Position sizing must be consistent. Since breaker block trading involves waiting for specific price actions, it is easy to over-leverage when a “perfect” setup appears. Calculate your position based on the distance between the entry and the stop-loss, ensuring that no single trade exceeds your daily risk limit, regardless of the perceived setup quality.
Practitioner Pro-Tip: Use partial profit taking at the 1:1 reward-to-risk ratio. This ensures that you lock in gains before the price potentially reverses for a deeper, secondary mitigation of the same breaker zone.
Advanced Confluence Techniques in October
Advanced traders maximize breaker block accuracy by layering them with time-of-day sessions, volume profiles, and fair value gaps. By ensuring the breaker block activation coincides with high volatility sessions like the London or New York opens, you align your strategy with the periods of maximum institutional liquidity execution.
The time of day is often overlooked. Institutional orders are typically executed during session transitions. If a breaker block forms during the quiet Asian session, its validity is significantly lower than one formed during the overlap of London and New York. Always check the economic calendar to ensure major news events do not invalidate your trade thesis.
Volume profile analysis acts as a secondary filter. If the breaker block is located at a high volume node, it suggests significant historical interest. However, if the breaker block is in a vacuum of volume (an inefficient price move), the retest might be more violent. Use volume to determine the expected speed of the retest and the potential for a deeper mitigation.
Frequently Asked Questions About Breaker Blocks
Frequently asked questions regarding breaker blocks generally cover identification, trade duration, timeframes, and institutional mitigation mechanics. By addressing these core concerns, traders can refine their understanding of how these blocks function as institutional signals rather than just simple support and resistance breaks in the current market environment.
How long do I hold a breaker block trade?
Duration depends on the timeframe of the breaker. If you identify a breaker on the 1-hour chart, your target should be the next structural liquidity level. Most traders hold until the price hits the opposing side of the current consolidation or a higher-timeframe order block.
Can I trade breaker blocks on lower timeframes?
Yes, but the noise level increases significantly. For beginners, it is recommended to start on the 1-hour or 4-hour timeframes. This ensures that the institutional signatures are clear and not obscured by the high-frequency trading noise present on 1-minute or 5-minute charts.
What is the difference between a breaker block and an order block?
An order block is an area of institutional accumulation before a move. A breaker block is an order block that has been failed and mitigated. Essentially, a breaker block is an order block that has been “broken” and is now being used to fuel the reverse direction.
How do I handle false breakouts with breaker blocks?
False breakouts are actually part of the breaker block validation process. The stop-run is necessary to clear liquidity. You handle them by being patient and waiting for the market structure shift after the liquidity sweep, rather than trying to predict the sweep before it happens.